
Научете как да проектиране на а Бланка за писма в Adobe Photoshop с нашите експертни, лесни за следване видео урок...
Този видеоклип е част от поредицата ни уроци за дизайн в Adobe Creative. Моля, уверете се, че абонирайте се за към канала на Solopress в YouTube, за да не пропуснете бъдещите ръководства!
How To Design A Letterhead
Head to the Solopress website to download the free Photoshop A4 Letterhead template guide as a base for your Letterhead.
Open the Photoshop file, we have created a guide layer that will help you design your Letterhead – this includes the bleed area, trim and safe area.
Bleed Area – Anything here will be trimmed off, but remember to extend any colouring or images into this bleed area to avoid white lines appearing during the print finishing stages.
Trim – Your job will be cut on the solid black line, any images or text placed in this area may be trimmed off incorrectly.
Безопасна зона - съхранявайте цялата си информация в бялата зона. Не забравяйте да използвате изображения с висока разделителна способност (300dpi) за най-добри резултати.
Създайте нов водач, като щракнете и плъзнете върху вертикалния и хоризонталния линийка (ако линийката не се появява във Photoshop, натиснете Command + R).
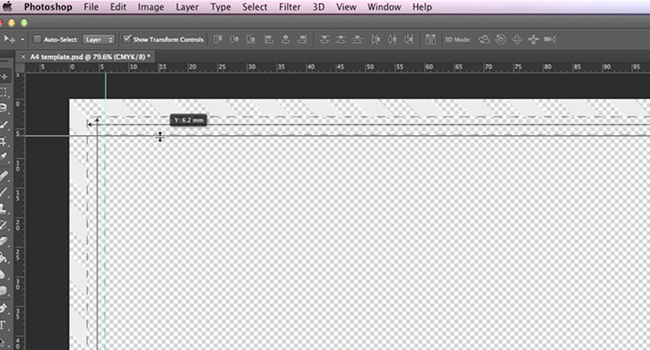
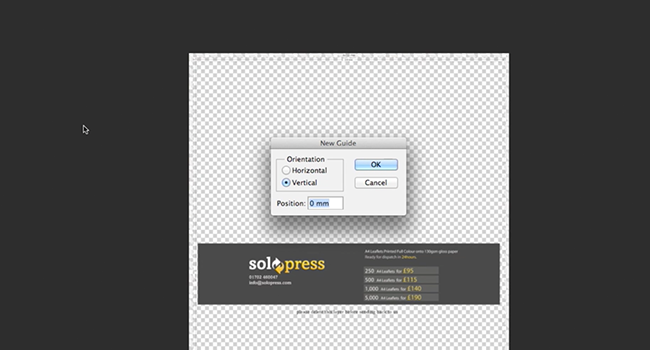
Create 4 new guides on the safe area line. In this video I have created 2 lines that run through the centre vertically and horizontally, the size of this template is a bit bigger than A4 (303x216mm), you can set the center guides to the exact measurement by clicking View – New Guide then entering 108mm for vertical and 151mm for horizontal.
In this video, I’m going to create a Letterhead for a Soho based Post Production company.
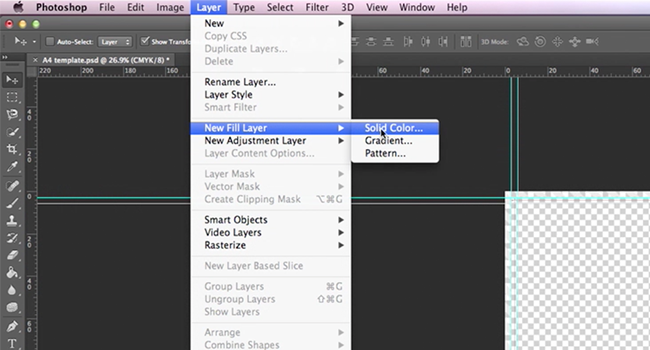
To make a solid colour background click Layers-New Fill Layer-Solid Colour.
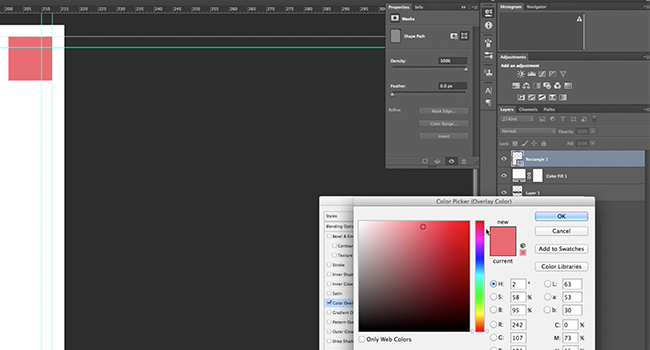
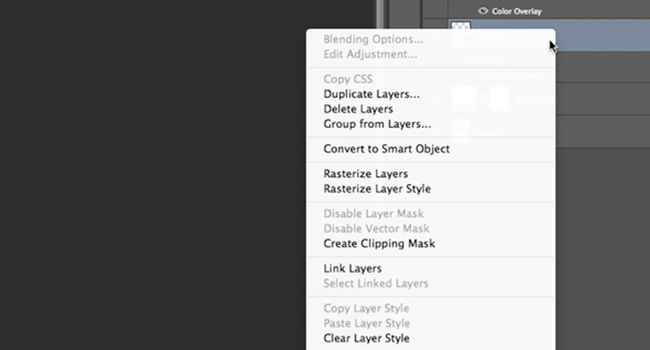
Using the Shapes Tool (found in the Tool Bar) I make a square to make a pattern to make decoration on my Letterhead, to make a perfect square hold SHIFT whilst drawing it. Then to add colour I right click on the layer and choose Blending Options, and then select colour overlay.
I want to make more of the same squares so I right-click on the layer and select Duplicate. To make numerous copies, I select more than one of the layers and Duplicate them.
Once my pattern is complete, I want to continue the colour scheme all the way down, so I highlight all of my individual layers then right click on one of them and select Make Smart Object. This will merge all of the layers into one, but you cannot edit them individually after this.
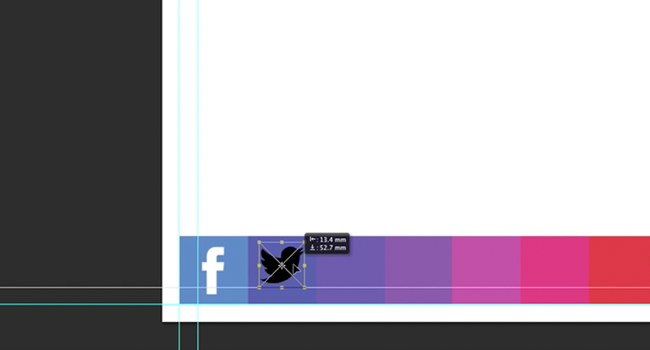
I set one at the bottom left of my page because I want to add social media icons to them. Using PNG based images allows you to put images directly into a Photoshop project without worrying about a background. I drag these directly from my Finder window (Explorer on MS Windows) and use the handles to scale them down. By holding SHIFT as you scale, it allows you to keep the proportion. I also use Colour Overlay in the Blending Options to colour them white, note how on a PNG only the image is colour, not the background.
After this I use the Text Tool (found in the Tool Bar) to write the company name at the top, I have stylized the name by having negative line spacing, this is changeable in the Character Panel.
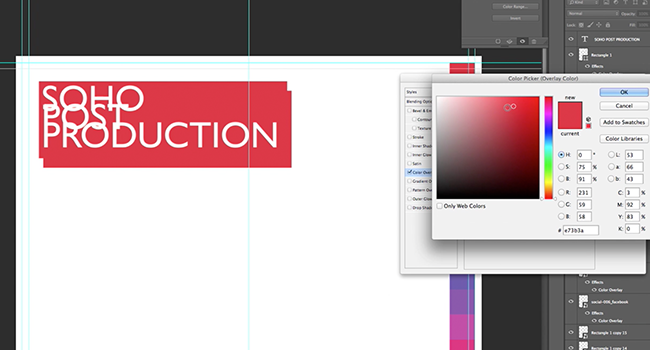
To add a back onto my company’s name, I draw a rectangle and use Colour Overlay to colour it in, and drag it behind the text layer. I duplicate the rectangle and I use the opacity option to lighten the rectangle. I then drag the layer behind the solid rectangle and offset it to create depth.
Now all I have to do is add a little company information using the Text Tool.
After everything is complete, I move my square pattern above the Safe Area line to create a white border. Then I delete the template layer and save my project.
For the next steps in getting your Letterheads printed, scoot over to Solopress.com
That’s it! Now you have a colourful and simple Letterhead for your company or organisation.
If you have any comments or questions regarding designing a Letterhead, please use the comments section below and we’ll do our very best to answer your queries.
Благодарим ви, че гледате нашия видео урок.


